Julien Delange • Tuesday, July 5, 2022
AUTHOR
JD
Julien Delange, Founder and CEO
Julien is the CEO of Codiga. Before starting Codiga, Julien was a software engineer at Twitter and Amazon Web Services.
Julien has a PhD in computer science from Universite Pierre et Marie Curie in Paris, France.
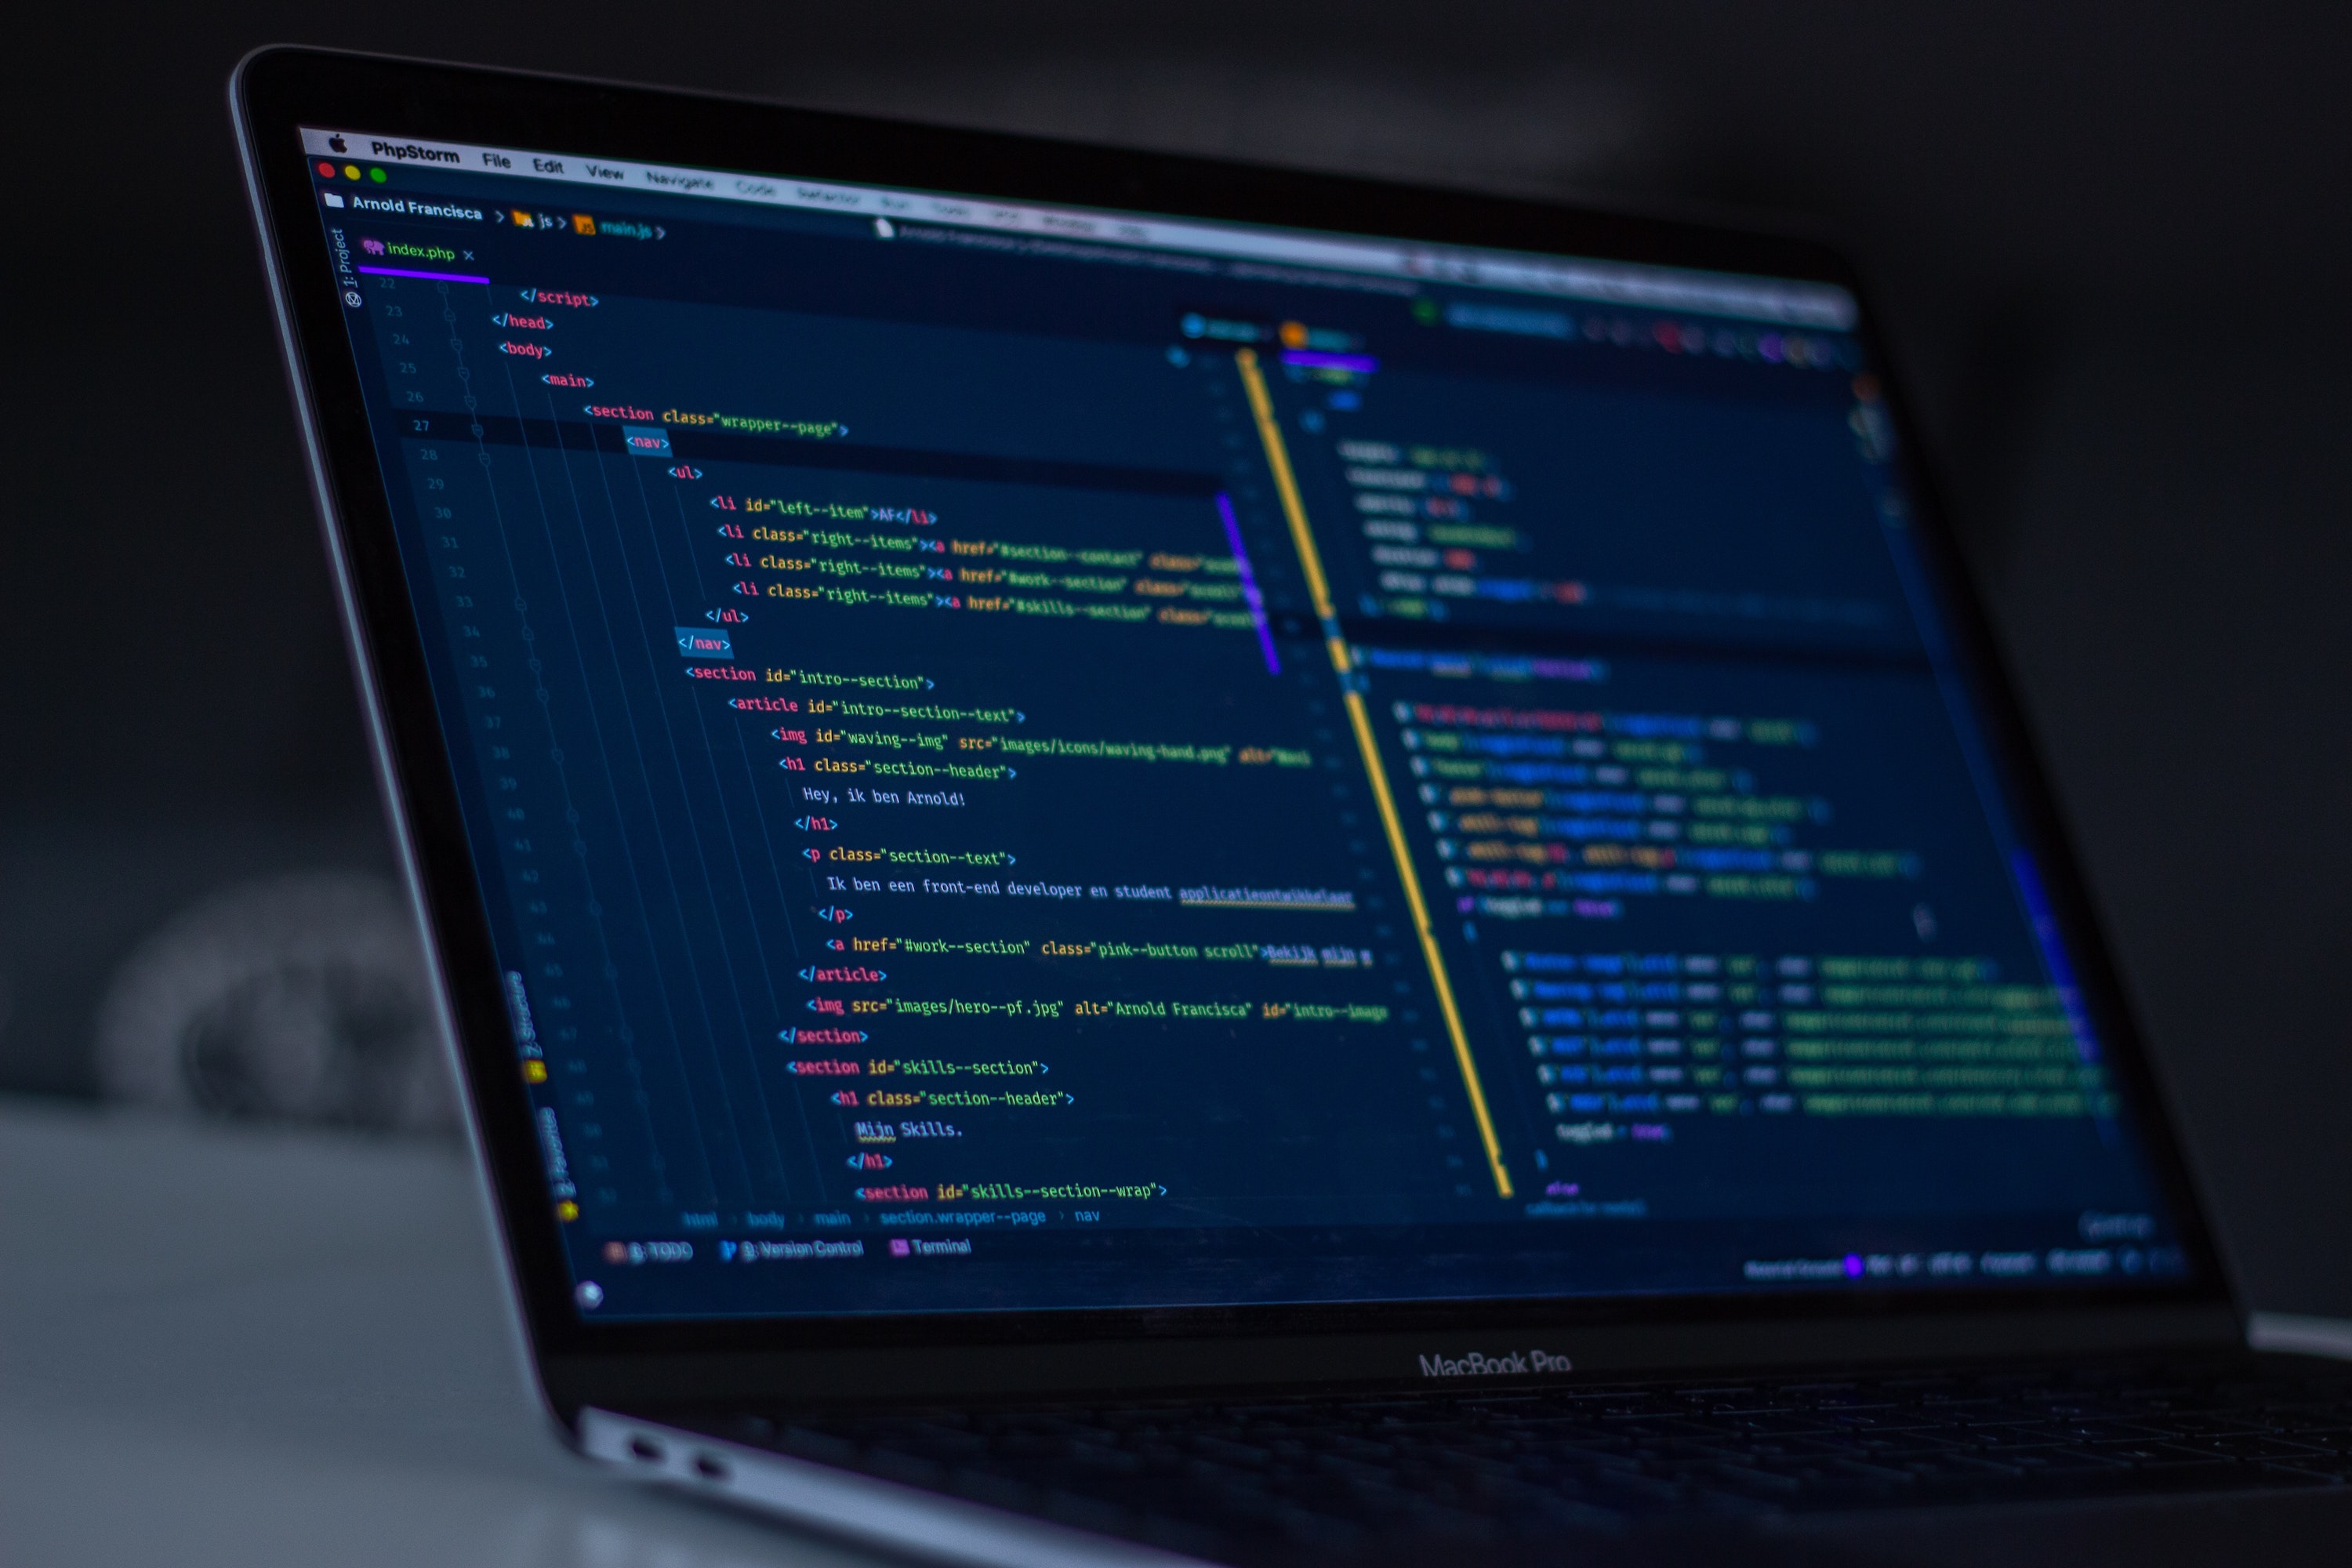
Git and other source code management tools have become a staple in software development and coding. They help programmers keep track of their projects and ensure that the changes they make are not lost. There are many different ways you can manage your git projects, but this blog will focus on some tips to help you use Git more efficiently when performing code reviews with your team.
Important note: due to some changes months ago in version control platforms, the default main branch may be called master or main. Check what is the default name branch in your repository configuration.
What is a Code Review?
A code review is a process of sending code changes to be reviewed and tested. During the code reviews, tests are executed to check if there is any regression in the new code and teammates are checking the code to verify if there is anything wrong and if requirements are correctly implemented.
When using Git, code review is a synonym for Pull Request. On GitHub or Bitbucket, a developer opens a Pull Request (PR) to make a code review. On GitLab, this is called a Merge Request (MR). While the wording is different, the intent is the same: a developer has some changes they want to merge into the main branch.
Create a new Git branch for your code review
The first good hygiene rule for making a code review/pull request is to commit all your changes in your own branch. Before making any code change, start a new Git branch where all your changes will be made.
Having your own branch brings many benefits:
- If you need help, other developers can pull your branch and have the latest version of your code
- You can quickly see the latest differences between your branch and the main branch
- When using a good branch naming convention, the branch name will already tell you what developer wrote the code and what function is it
This is the lifecycle of a branch:
- Created: the branch is created.
- Active: the developer makes commit to the branch and push it
- Merged: the branch is merged into the default branch of the repository (
masterormain). - Deleted: the branch is deleted. Note that this step is optional.
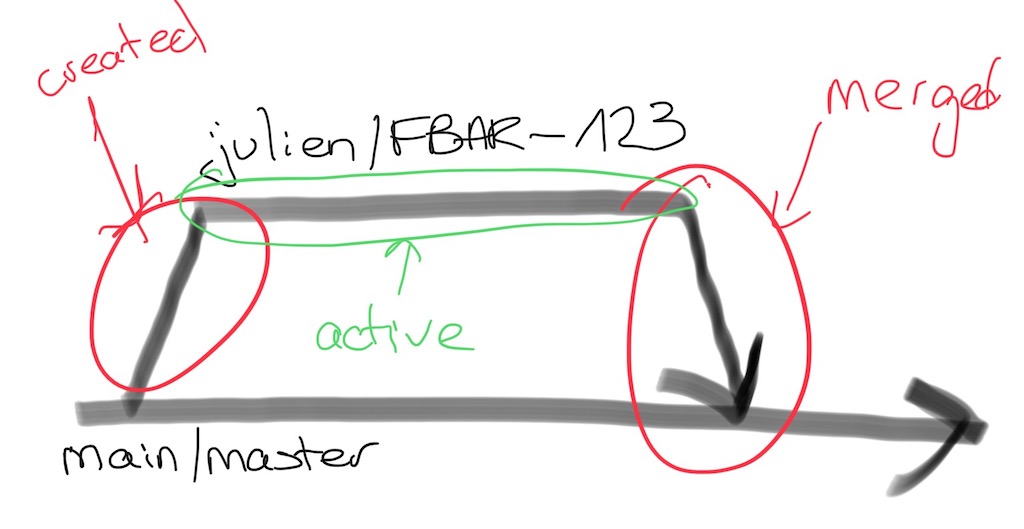
A Code Review (or Pull Request or Merge Request) is when the code is reviewed before being merged. It occurs when the branch is still active and before merging the branch into the defeault branch. At this phase, developers make sure the code is correct and ready to be merged and used by all other developers!
To start a new branch, make sure you have the latest version of the main branch and branch from it.
# Switch to the default branch (name is either main or master)
git checkout main
# Pull the latest changes from the default branch
git pull
# Create a new branch based on the current version of the default branch.
git checkout -b <branch-name>
When you want to see the difference between your branch, you can simply use the following command
git diff origin/main
Follow Git branch naming convention
When developing code with multiple developers, it's important to agree on conventions to name branches. If you do not establish conventions, you end up with multiple branches with similar names (e.g. bugfix1, fix-bug-from-customer, etc).
There is no established convention and you need to define your own. What is common in many large tech companies is to use your login and the issue identifier you are working on.
For example, imagine that my username is julien and the issue identifier I am working on is FBAR-123. The branch name will then be julien/FBAR-123.
Sometimes you need to make a follow-up for a task. I generally add the suffix -partX when I need to make a follow-on code review.
For example, the branch julien/FBAR-123-part2 is a follow-up of the work done in branch julien/FBAR-123.

Make a Pull Request/Merge Request
When you write code and push commits on your branch, these changes are only stored on your local computer. To start a pull request, you need to push your local branch to the remote Git repository.
First, make sure you are on your local branch by using git status
Once you are sure you are on your local branch, push your branch using git push --set-upstream origin <branchname>.
For example, if the local branch is julien/FBAR-123, the command to push the local branch is the following
git push --set-upstream origin juli1/FBAR-123
You can then start a pull request (or merge request) to merge the branch juli1/FBAR123 to your default branch (master or main).
How to write a great pull request description
What seems obvious to you may not seem obvious for your reviewer. For that reason, it's generally highly encouraged to write a description in your pull requests that explain:
- What problem(s) you are trying to solve
- How did you approach the problem and what changes you did to address it
- Any special notes or highlights in the code review.
Such information only gives context to your reviewer. But it also avoids going back and forth with questions between the author and the reviewer. Finally, it also provides useful context for anybody looking at code changes later.
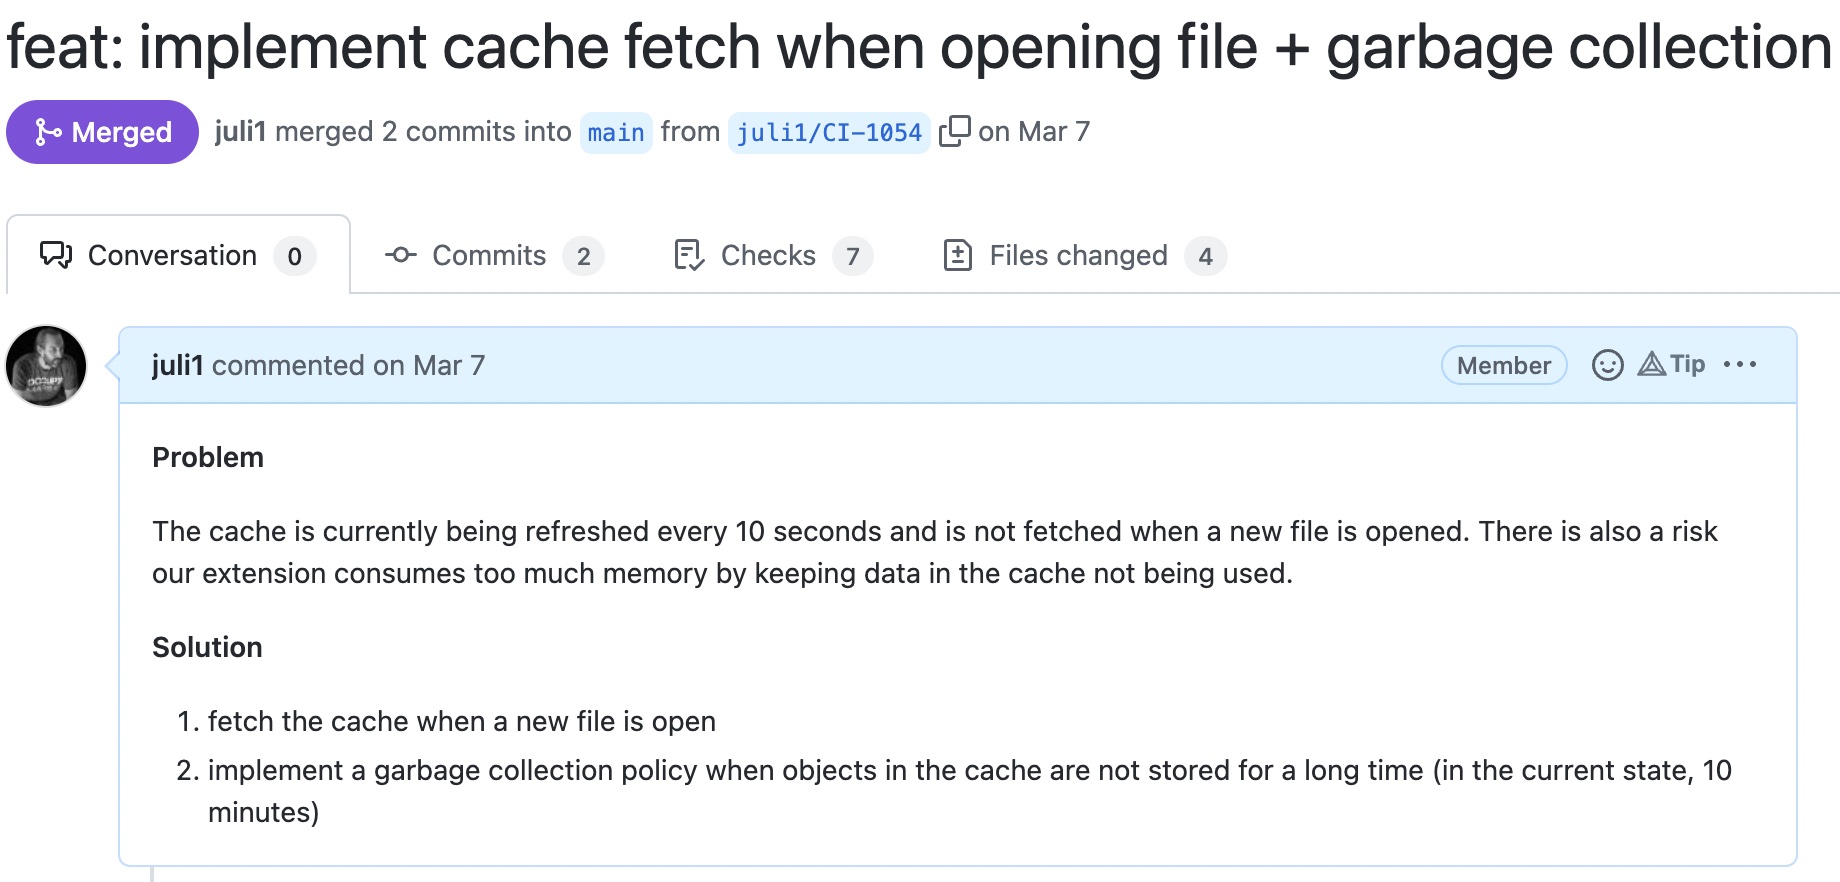
There is an example of such message:
Keep changes small
Too often, developers are trying to implement too many changes in one code review. This is a problem since the code review is large and takes long time to review.
Imagine you have two changes:
- Change 1 is short and low-risk, takes about 10 minutes to review
- Change 2 is long and high-risk, it takes about 1 hour to review and likely requires two reviewers.
Considering now these two cases:
- One code review for both changes. It's very likely that the review will take days. Change 1 and change 2 will be merged together, only when both change 1 and change 2 are correct.
- One code review per change. If the author makes two code reviews (one for change 1 and one for change 2), change 1 can be reviewed and merged very quickly (low risk and fast to review) while change 2 may take more time. In this scenario, changes are being shipped and deployed faster.
For this reason, code reviews should be kept as small as possible to iterate quickly and keep shipping.
Keep the following rule: 1 ticket/issue = 1 code review. And if the scope of your ticket is too large, break it down into multiple tickets/issues.
Rebase on the master/main branch
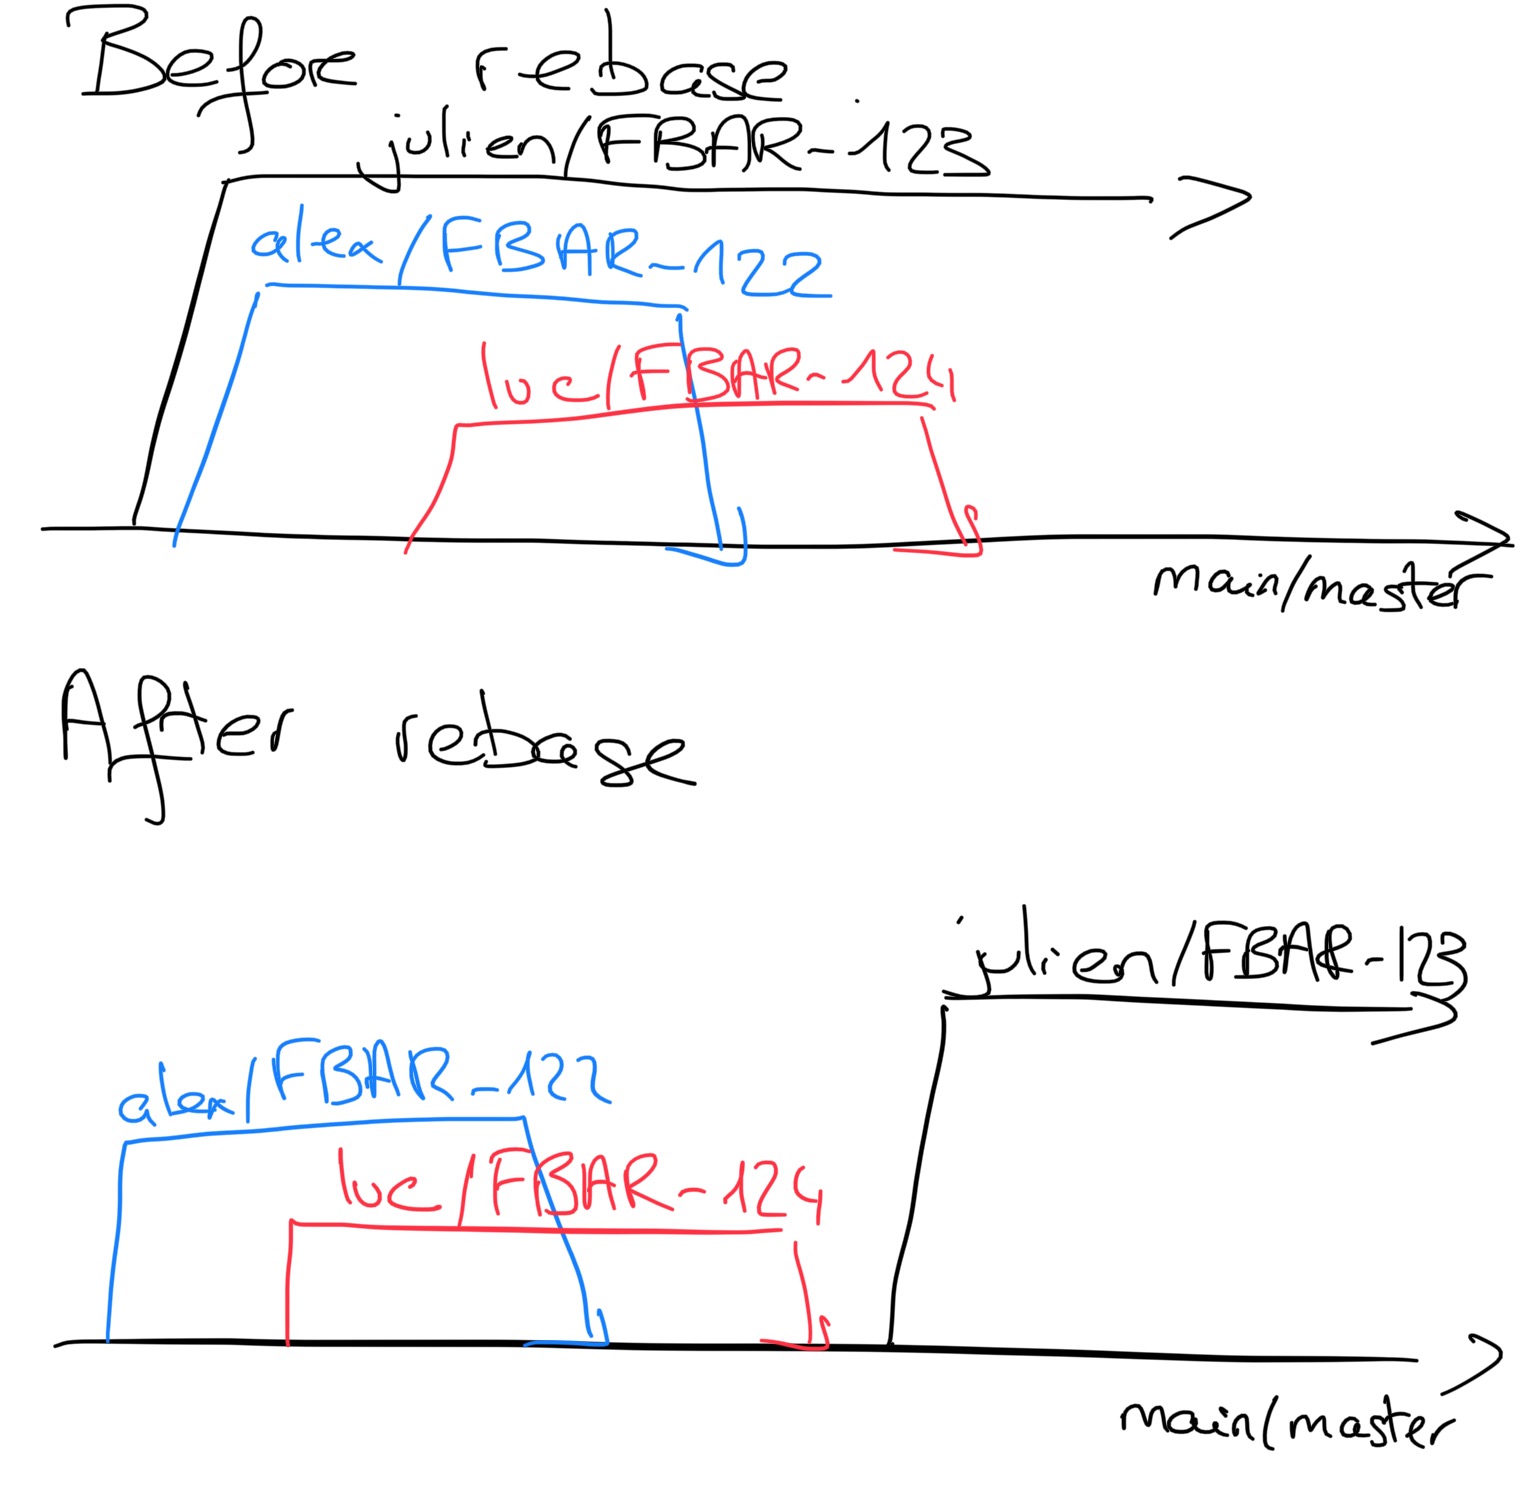
When you work on a local branch for some time, your current default branch (main or master) may be outdated and your pull request may have some merge conflicts.
To avoid such merge conflicts, you need to rebase your branch. Rebasing your changes means that you are updating your base branch and making sure your changes apply to this new revision.
To rebase your branch, follow the following instructions:
- Switch to the default branch
git checkout master(ormain) - Update it
git pull - Switch back to your local branch
git checkout <your-branch> - Rebase
git rebase origin/master
You may have some conflicts while rebasing. In this case, list the conflicts (git status), update the files marked in the conflict, add them to the commit (git add path/to/file) and continue the rebase git rebase --continue).
Automate your code reviews
Code reviews are very time-consuming. Software engineers allocate between 10% to 20% of their time reviewing the code of their peers.
Manual code reviews are necessary to make sure the solution taken to solve a problem is correct and no edge cases have been overlooked.
However, manual code reviews are limited:
- Productivity: they take a lot of time and block the code review submitter.
- Range of detected issues: there is no guarantee the human doing the review checks for all errors
- Human nature: the reviewer may not catch all issues and may not be aware of some issues with the code
Automating code reviews provide feedback to the developer very quickly. It unblocks developers that can fix potential issues before waiting for final approval from teammates.
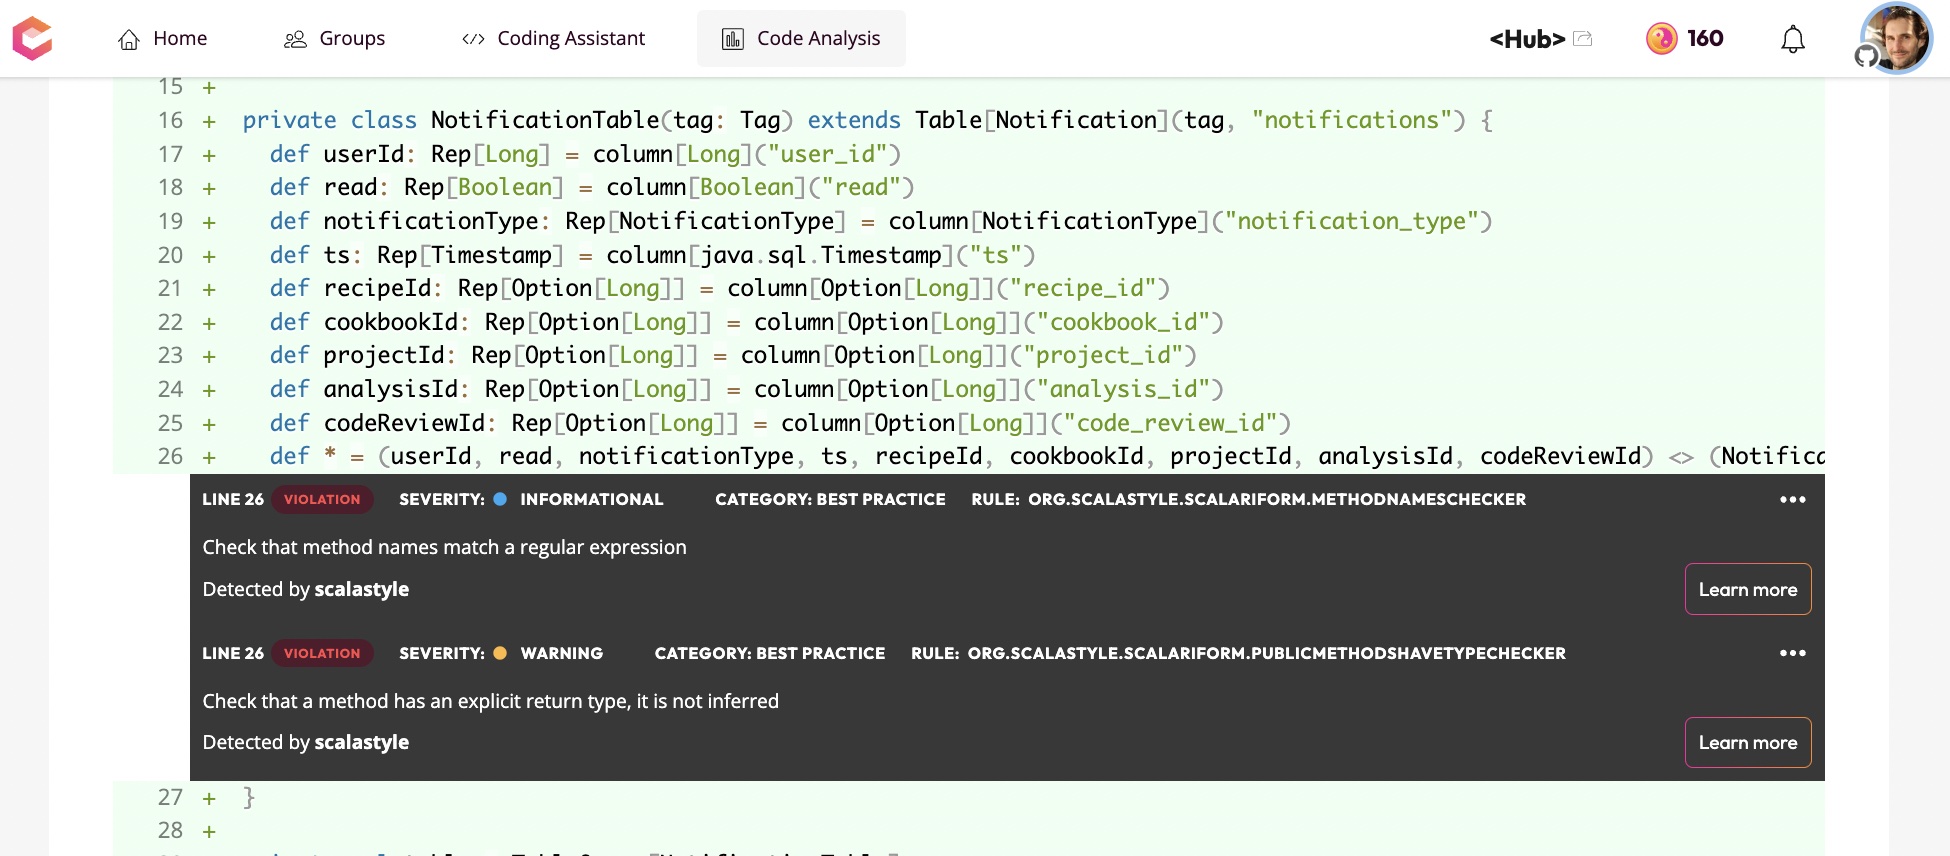
Codiga automates your code reviews. It gives feedback to the submitter within seconds. It flags any safety, security, performance, or design issues directly on the code review (see the list of rules for all supported languages). And gives more confidence to the team that the code being merged is correct and exempt from any bug.
Codiga does not replace the code review process. It provides feedback quickly to the developer that can fix issues and ensure code quality standards are met. It also gives more confidence to the team that the code does not have large issue.