Daniel Strong • Sunday, November 6, 2022

AUTHOR
DS
Daniel Strong, Frontend Engineer
Daniel is a Frontend Engineer at Codiga.
He is a passionate frontend engineer, teacher, and learner. He has worked on or led several creative projects where he's grown his leadership, management, design, and programming skills.
You've finished coding up an app with Electron and now you want to release it to the Microsoft Store? Well, we've gone through the trial and error, so you don't have to. Follow the steps to have your app on the Microsoft Store in no time.
Step 1 - Create a Microsoft Developer Account
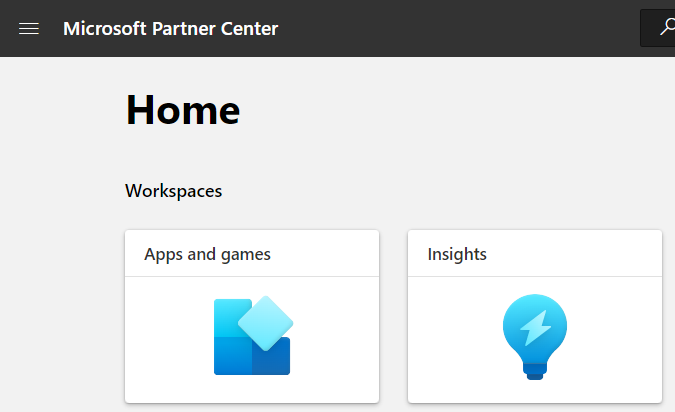
To release an app on the Microsoft Store, you'll first need to sign up for a Microsoft Developer account. After setting up your account in your dashboard home, you should notice an "App and games" workspace.
Step 2 - Create a New Product
When you go to create a new product, there are two options you can choose from.

Before choosing one and filling out all of the information, please continue reading to ensure you make the right choice.
EXE or MSI app
If you've followed our Sign and Notarize an Electron App post, this might seem like the easiest option.
Our CI/CD pipeline will build, package and sign an exe package for us, so why didn't we stay with this option? Because once you've chosen the exe option, Microsoft will ask for specific error codes for different installer scenarios, yet we couldn't find any information online supporting this.
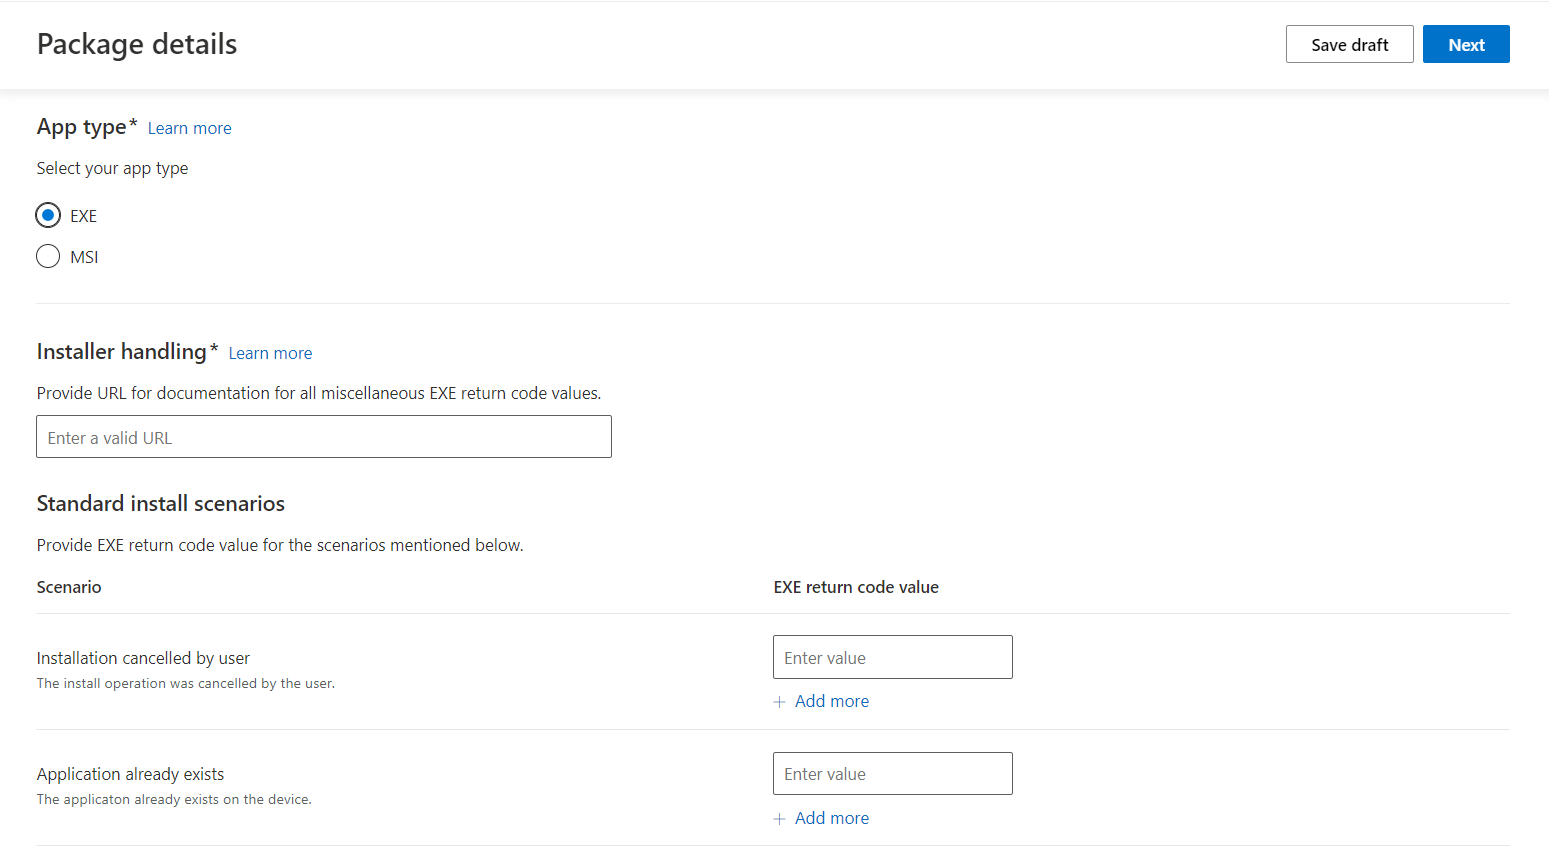
We attempted to build an MSI package (which does not require reporting the installer scenario codes above) but encountered issues within our pipeline which we didn't want to adjust for a different build.
MSIX or PWA app
The other option, that Microsoft offers, is an MSIX package.
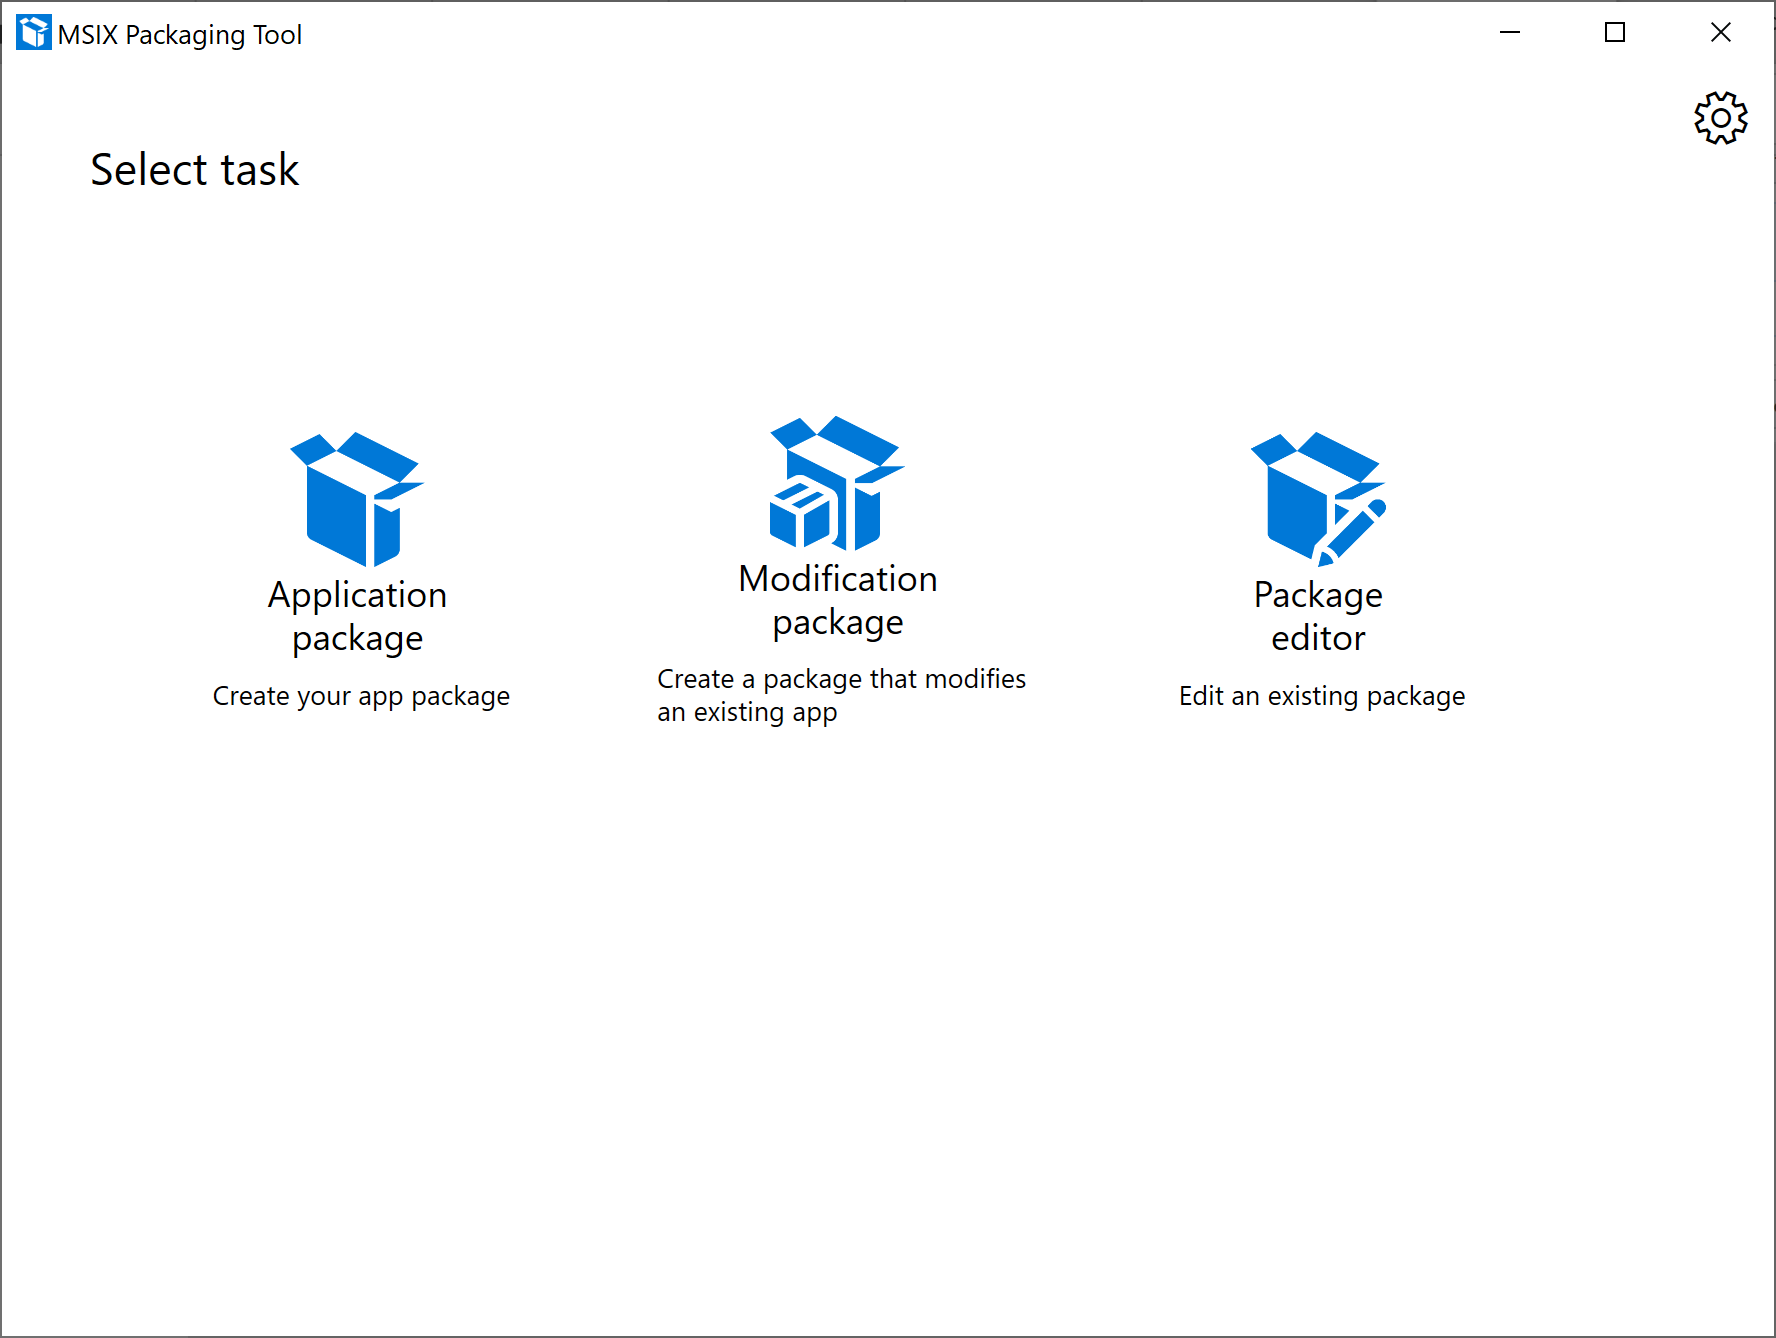
When we reached out to the Electron community, the suggestions were to build our app as an AppX package and if needed convert it to an MSIX package using MSIX Packaging Tool.
We already have a signed EXE package built, signed, and available on our Code Snippets Manager GitHub repository that we can convert.
Step 3 - Convert Package from EXE to MSIX
Download MSIX Packaging Tool
You'll need to download and install the MSIX Packaging Tool first, which is only available on the Microsoft Store.
Create your App Package
Select "Application package" to start.
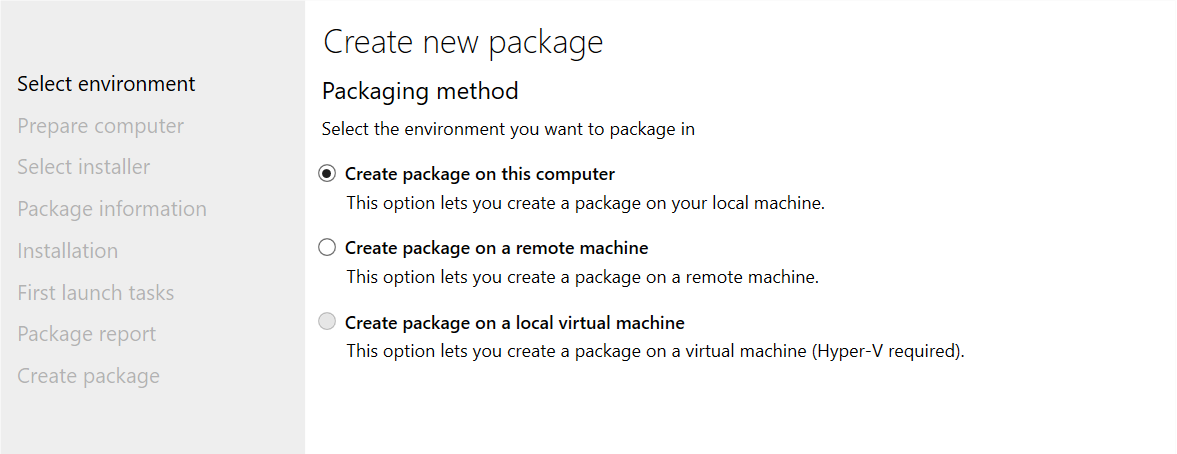
Packaging Method
We're going to make this package on our local machine, so we'll select the "Create package on this computer" option. Next, the tool will check whether you have the correct driver installed and it'll temporarily disable Windows Update during the packaging.
Package Installer
You need to choose the installer file that you want to package. Browse your local machine, for your EXE package and add it now.
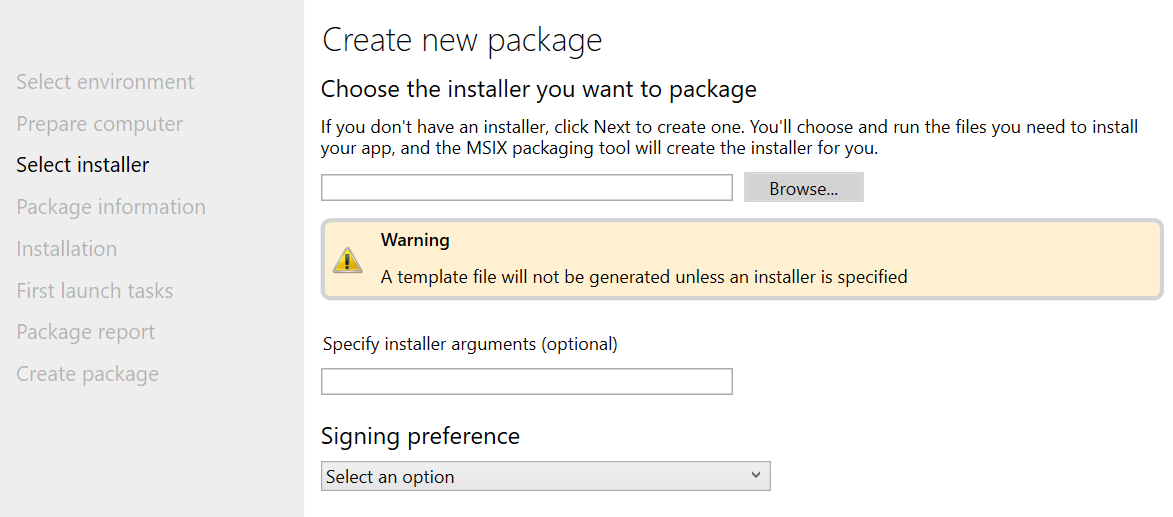
You can leave installer arguments empty, leave the signing preference unchanged and check the box if your app installs silently.
When we change metadata and re-package our EXE file to an MSIX file, the code signing will not transfer over since anyone could be re-packaging this EXE file. However, since this MSIX file is only going on the Microsoft Store and they will validate it for us, signing here isn't needed.
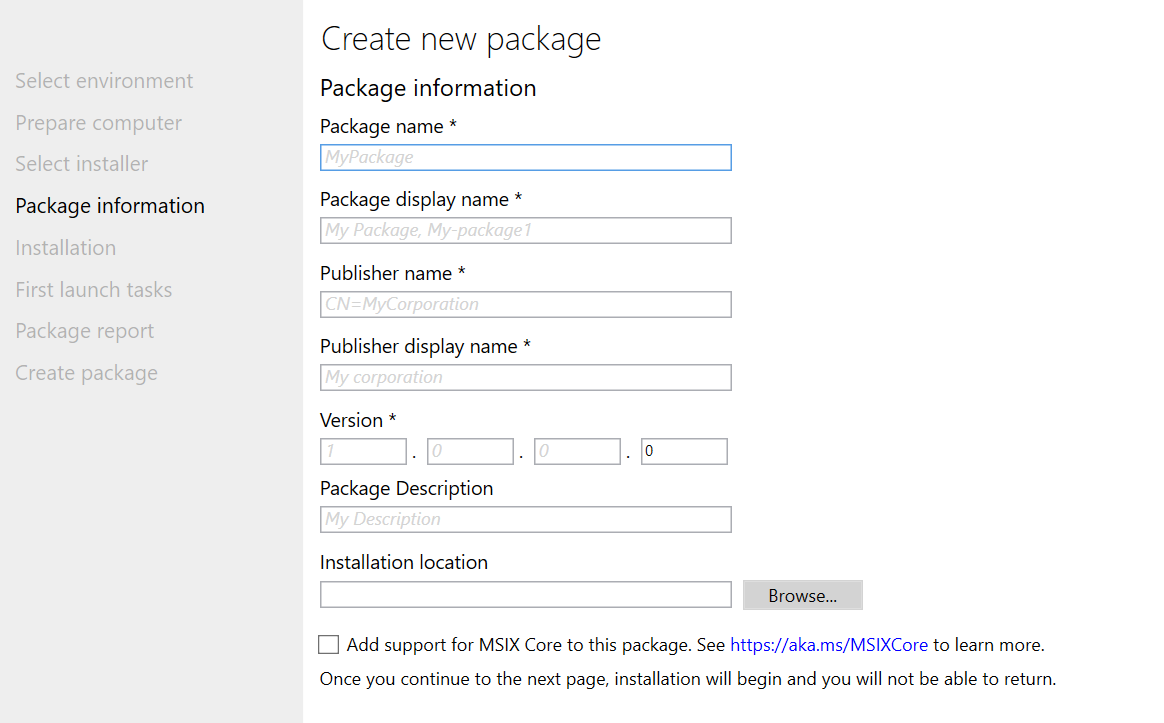
Package Information
This is where you are going to update your package metadata. The details you used to sign your EXE app will be somewhat different than what you enter here.
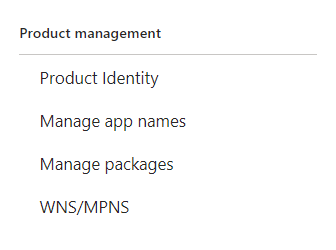
Back in your Microsoft account, on the left-hand side sidebar, there's a "Product Management" section. You will need some details on the "Product Identity" page.
This page has three values that we need to input into the package information form: Name, Publisher, and PublisherDisplayName.
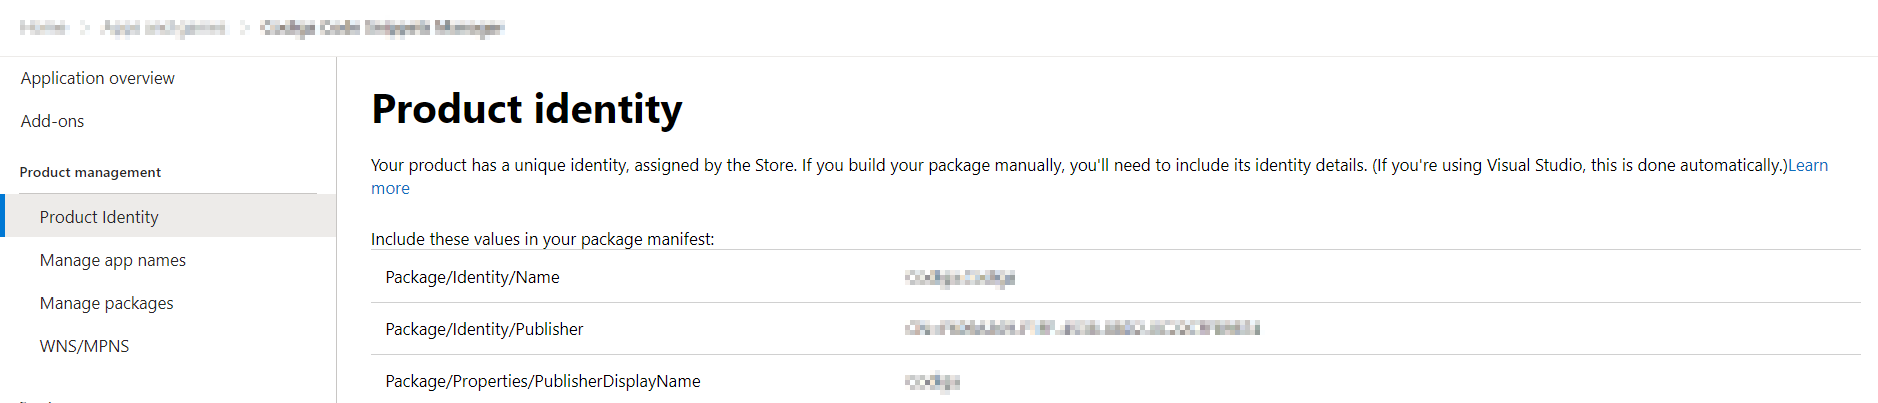
Let's go over each option, so your app validates on the first try.
- Package name
- The value from your product identity page.
- Package display name
- This is the display name you reserved for your app and you can include multiple/
- Publisher name
- The value from your product identity page.
- Publisher display name
- The value from your product identity page.
- Version
- The version number of your app. Leave the last zero empty.
- Package description
- You can leave blank
- Installation location
- You can leave blank
Once you've filled out the form with your information, you can click "Next" and this tool will run your EXE installer. You should notice your app installing and then opening itself. You can close it and go back to your MSIX Packaging Tool.
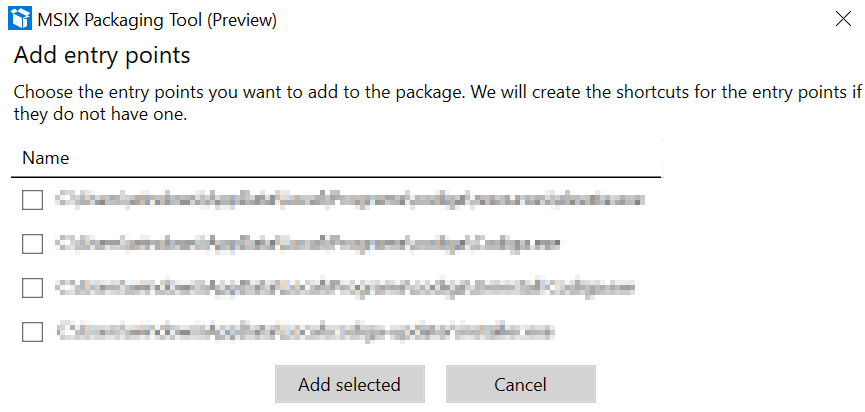
Step 4 - Entry Points
In the last part, your app was installed and this tool grabbed some entry points that you may need. If you don't see any listed, click 'Browse' and choose the ones that are needed.
When you've finished, you can click "Next" and on the following screen, click "Create". You'll be shown a prompt with the location of your new MSIX package on your local machine.
Step 5 - Submit App on Microsoft Store
You now have an MSIX package that you can upload to the Microsoft Store. When you upload it, Microsoft will validate the metadata that they have against what you've provided. If there are any discrepancies, they will show just below where you uploaded to.

Wrap Up
Once Microsoft has certified your package, you need to fill out the rest of your submission details, and then you can submit.
Once submitted give it a day or two for Microsoft to validate everything and add to their store.
If you receive a
runFullTrustwarning after submitting your app, when they ask why you need that access, just inform them that this is an Electron app. You can read more about this on electron-builder's Github.